
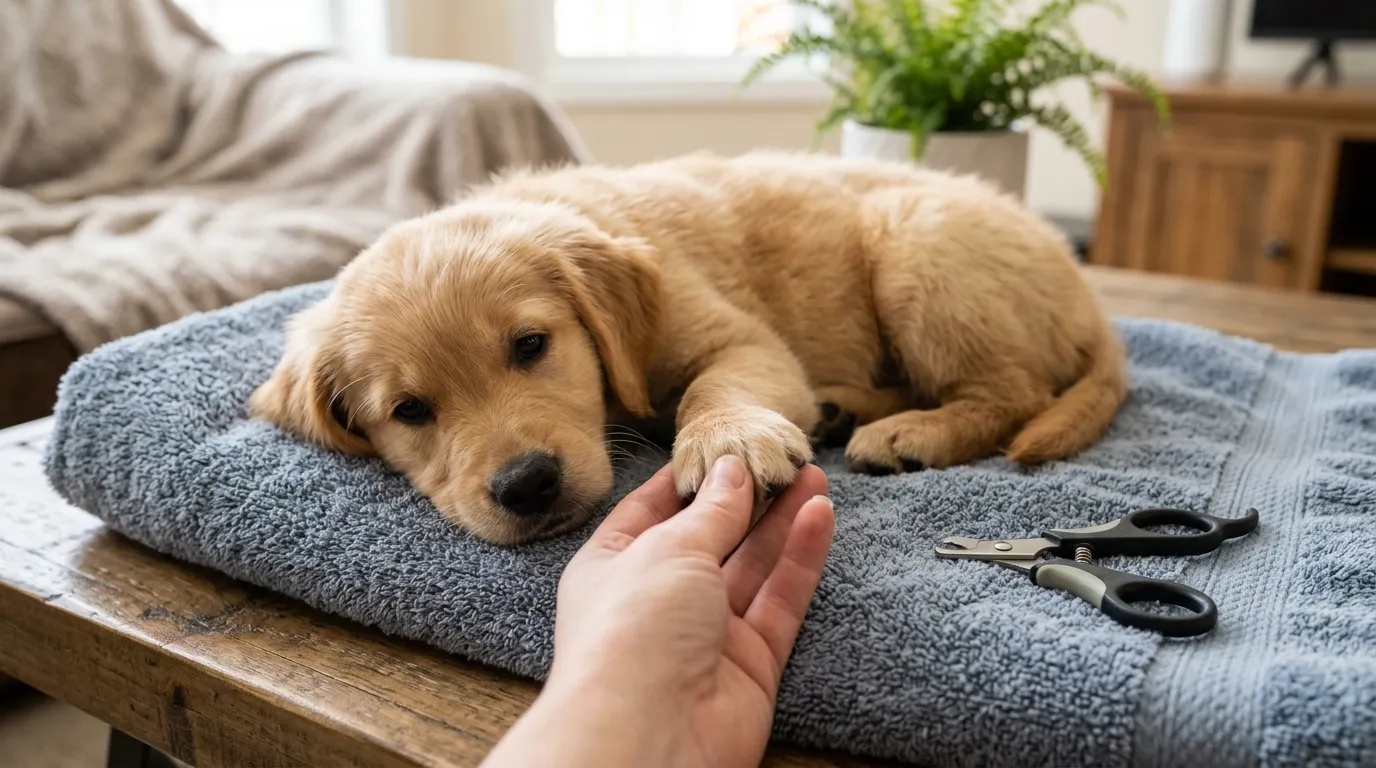
If just the sight of nail clippers sends your puppy scrambling under the couch, you’re definitely not alone. Nail trims top the list of most-dreaded grooming tasks for new puppy owners – but they don’t have to be a wrestling match. With the right pace and technique, most puppies can learn to tolerate (even ignore) nail trims completely.
Here’s exactly how to trim your puppy’s nails without the stress, for both of you.
Why Nail Trims Matter So Much
Overgrown nails aren’t just a cosmetic issue – they can genuinely affect your puppy’s comfort and health.
- Long nails alter posture and can cause joint discomfort in dog
- They’re more prone to painful splitting or breaking
- Overgrown nails can curl inward and dig into paw pads
- Regular trims keep the quick (blood vessel) shorter over time, making future trims easier
The earlier you start, the more “normal” nail trims become – puppies who get used to it young rarely develop lasting fear.
Step 1: Get Your Puppy Comfortable with Paw Handling First
Before clippers even enter the picture, your puppy needs to feel relaxed having their paws touched.
- Gently hold and massage each paw daily
- Press lightly between the toes and around the nail base
- Pair every touch with a treat or calm praise
- Keep sessions short – even 30 seconds at a time is enough at first
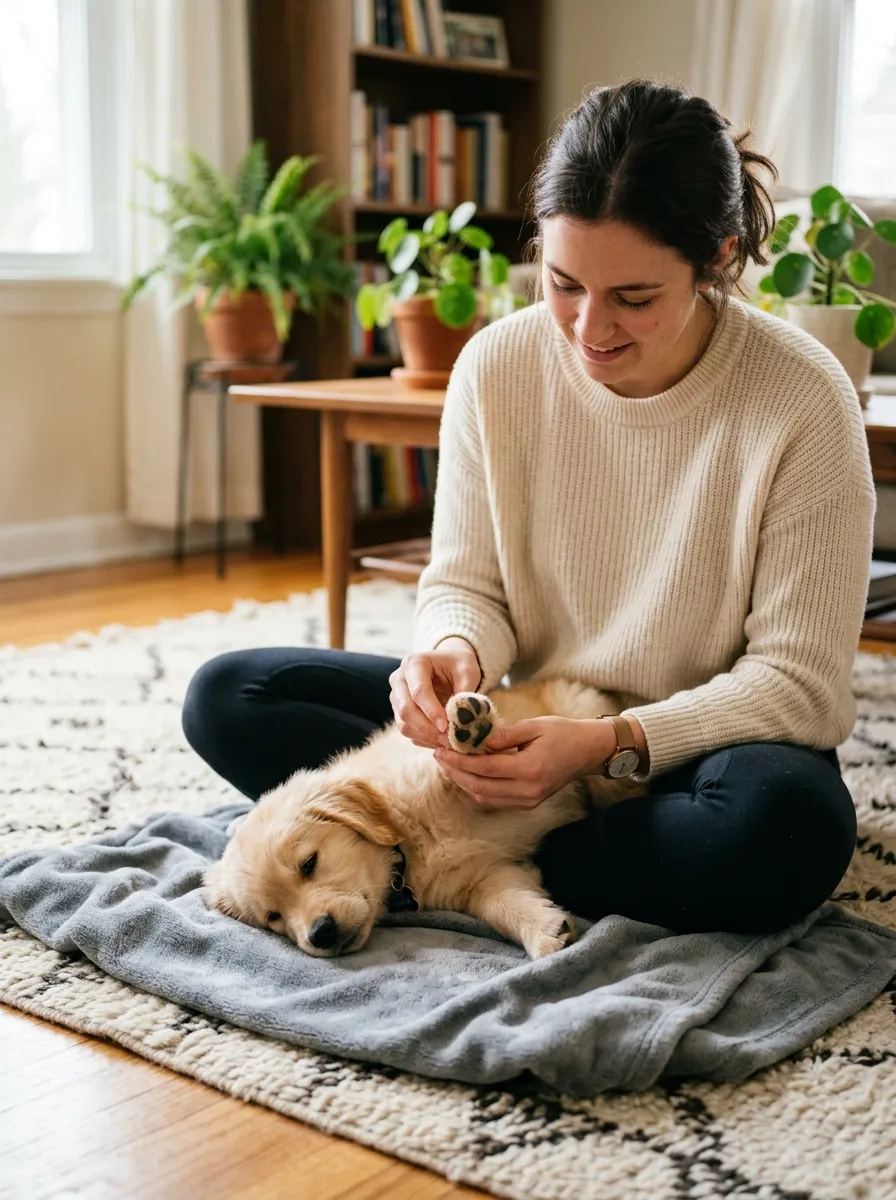
Tip: This single step prevents most of the struggle that comes later with actual trimming.
Step 2: Choose the Right Tool
The right clipper makes a noticeable difference in both safety and confidence.
Common options:
- Scissor-style clippers: Great for small or thin nails
- Guillotine-style clippers: Popular for precise, clean cuts
- Nail grinders: Gradually file down nails, often less startling for sound-sensitive puppies
Whichever you choose, make sure it’s sized appropriately for a puppy’s small nails.
Step 3: Introduce the Clippers Without Cutting
Let your puppy get used to the tool itself before it ever touches their nails.
- Let them sniff and investigate the clippers
- Touch the closed clippers gently to their paw
- Mimic the trimming motion without actually cutting
- Reward calm behavior throughout
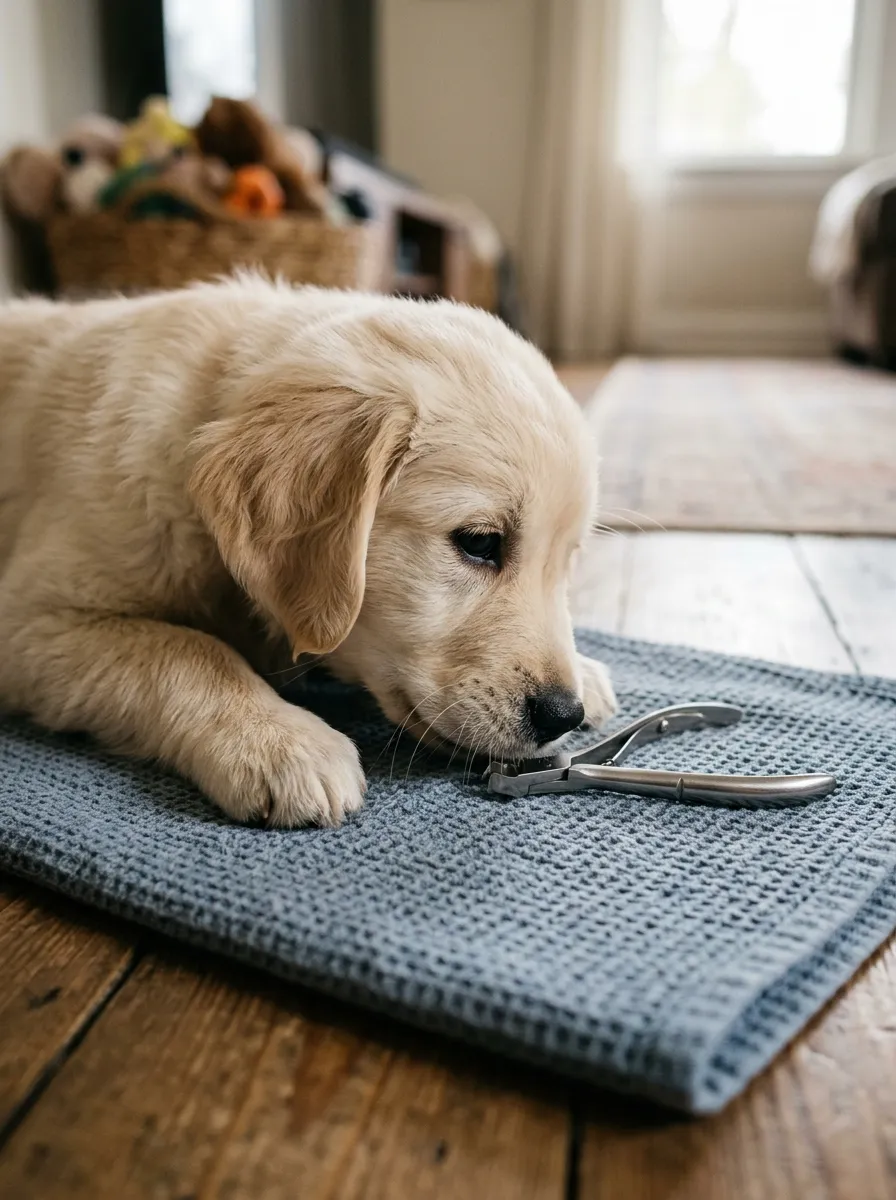
This step alone can take away most of the fear response before a single nail is ever trimmed.
Step 4: Start with Just One Nail
Trying to do all nails in one sitting is a common mistake – especially early on.
- Hold the paw gently but securely
- Identify the tip of the nail, avoiding the quick (the pink area visible in lighter nails)
- Trim just the very tip in one clean snip
- Reward immediately, even if you stop after just one nail
- Build up gradually over several sessions
Tip: For dark nails where the quick isn’t visible, trim in small increments and stop as soon as you see a small grayish-white circle appear in the center that means you’re close.
Step 5: Keep Sessions Short and Positive
Long, drawn-out sessions are where most stress builds up – for puppies and owners alike.
- Aim for just a few nails per session if needed
- Stop before your puppy becomes anxious or squirmy
- End on a calm, successful note every time
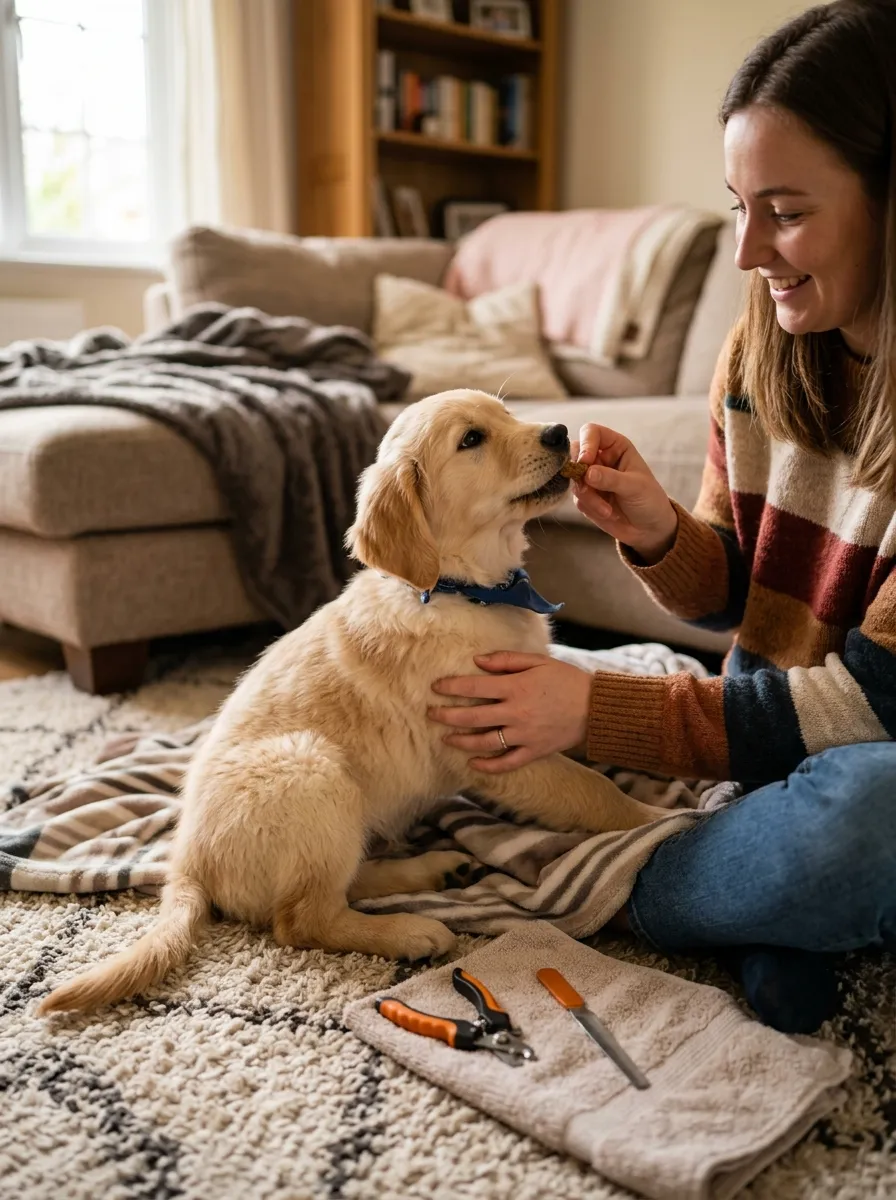
- Use extra-special treats reserved just for nail trims
- Regular nail trims and proper dental care are both essential parts of a healthy puppy grooming routine. How to Brush Puppy Teeth the Right Way
Step 6: Know What to Do If You Cut the Quick
Accidents happen, even to experienced owners – staying calm matters more than perfection.
- Apply styptic powder (or cornstarch in a pinch) to stop the bleeding
- Apply gentle pressure for 30–60 seconds
- Stay calm – puppies pick up on your reaction more than the actual nip
- Comfort them, then pause the session if needed
Tip: Keep styptic powder on hand before you start trimming, just in case.
How Often Should You Trim Puppy Nails?
Most puppies need trims more often than adult dogs due to faster growth.
- General guideline: Every 2–3 weeks
- Active puppies on rough surfaces: May naturally wear down faster
- Indoor or less active puppies: May need more frequent trims
Sound test: If you hear clicking on hardwood floors, it’s usually time for a trim.
Common Mistakes to Avoid
- Trying to trim all nails in one long session
- Skipping paw-handling practice beforehand
- Cutting too much at once, especially on dark nails
- Reacting with panic if the quick is nicked
- Waiting until nails are very overgrown to start trims
A Simple Nail Trimming Progression
| Stage | Focus |
|---|---|
| Days 1–3 | Paw handling, no clippers yet |
| Days 4–5 | Introduce clippers without cutting |
| Week 2 | Trim 1–2 nails per session |
| Week 3+ | Full trim across multiple short sessions |
Every puppy progresses differently – slow and steady wins here.
Final Thoughts
Trimming your puppy’s nails doesn’t have to be a stressful ordeal. With gradual handling practice, the right tools, and short positive sessions, nail trims can become just another quick, manageable part of your routine.