
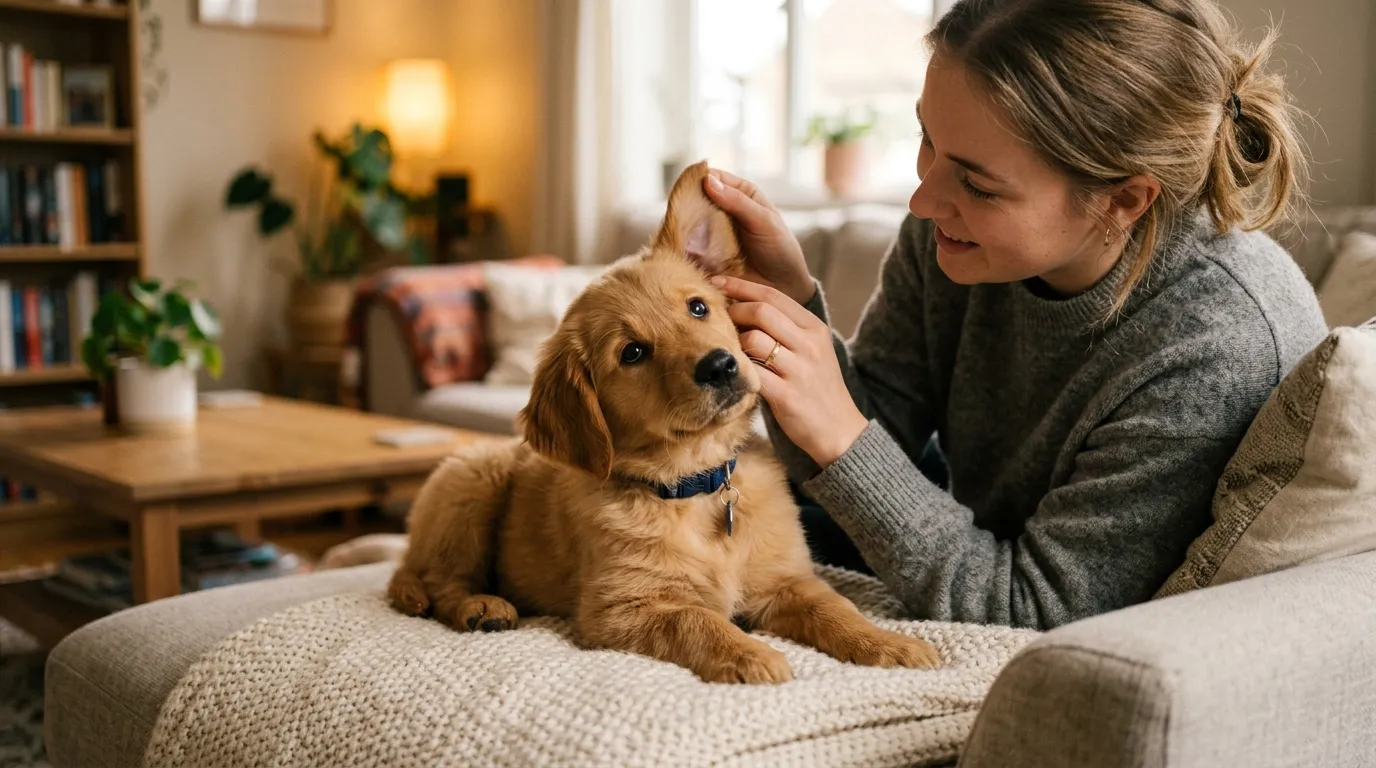
Puppy ears are undeniably cute – but they also need real care, especially if your pup has floppy ears that trap moisture and debris. The good news? Ear cleaning is one of the simplest grooming tasks once you know the right technique, and it goes a long way in preventing painful infections down the road.
Here’s exactly how to clean your puppy’s ears safely, step by step.
Why Ear Cleaning Matters So Much
Puppy ears are more prone to issues than you might expect, especially in certain breeds.
- Floppy ears trap moisture, creating a breeding ground for bacteria and yeast
- Regular cleaning prevents painful infections
- Early ear care builds tolerance for handling later in life
- Catching redness or odor early prevents bigger vet visits down the road
Breeds with floppy or hairy ears (like Cocker Spaniels or Poodles) typically need more frequent attention than upright-eared breeds.
Step 1: Gather the Right Supplies
Having everything ready before you start keeps the process smooth and stress-free.
You’ll need:
- A vet-approved ear cleaning solution
- Soft cotton balls or gauze pads
- Treats for positive reinforcement
- A towel (for wiggly puppies or post-cleaning shakes)
- Ear cleaning is just one part of regular puppy grooming. As your puppy gets used to being handled, how to start grooming your puppy at home becomes much easier and less stressful for both of you.
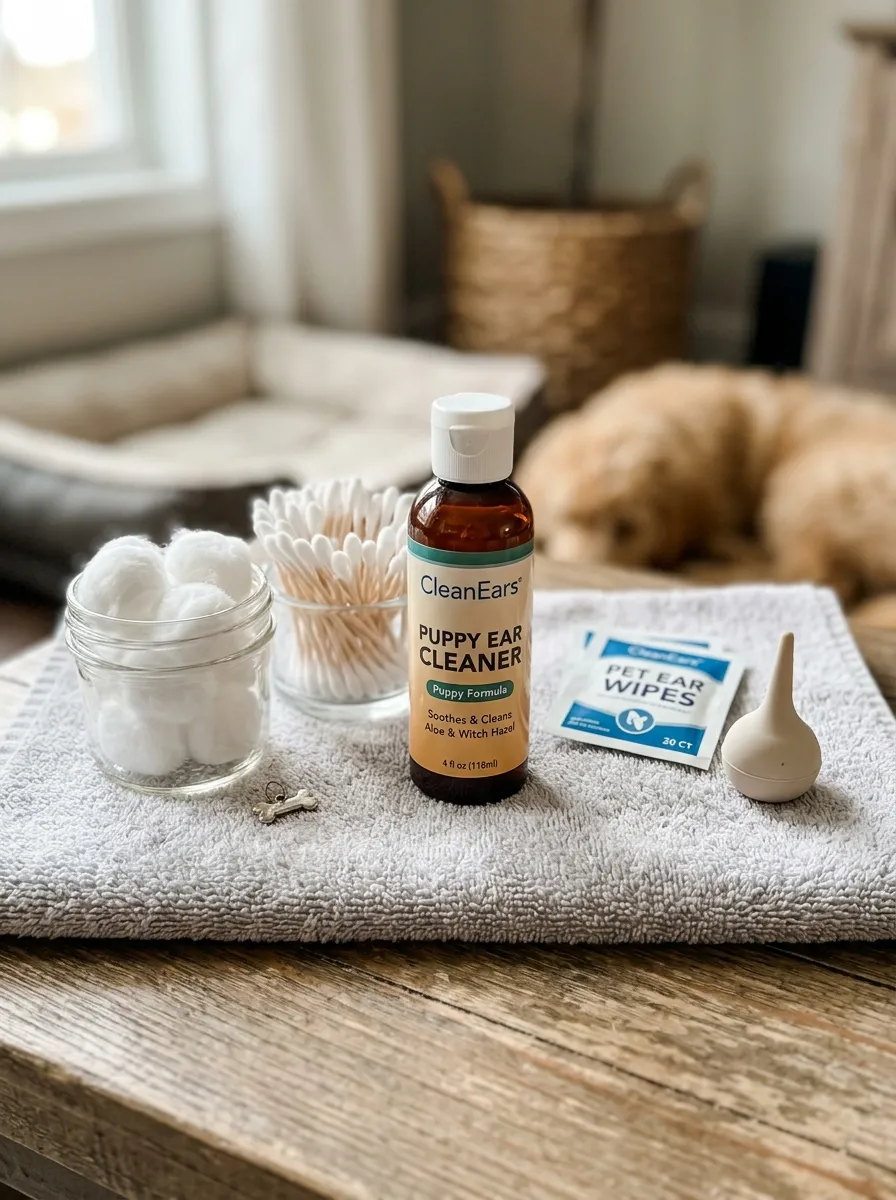
Avoid: Cotton swabs (Q-tips) – they can push debris deeper into the ear canal or cause injury.
Step 2: Check the Ears Before Cleaning
Not every ear needs cleaning every time – a quick check helps you gauge what’s needed.
Healthy ears typically look:
- Light pink, with minimal odor
- Free of excessive wax, redness, or discharge
Signs that warrant a vet visit instead of home cleaning:
- Strong odor
- Dark discharge or excessive wax buildup
- Redness, swelling, or visible irritation
- Your puppy scratching or shaking their head frequently
If something looks off, check with your vet before proceeding – it could be an infection that needs treatment first.
Step 3: Get Your Puppy Comfortable and Calm
A relaxed puppy makes the whole process faster and safer for both of you.
- Choose a calm, quiet space
- Sit with your puppy in your lap or beside you on the floor
- Offer a treat or two before starting to build positive association
- Keep your tone calm and reassuring throughout
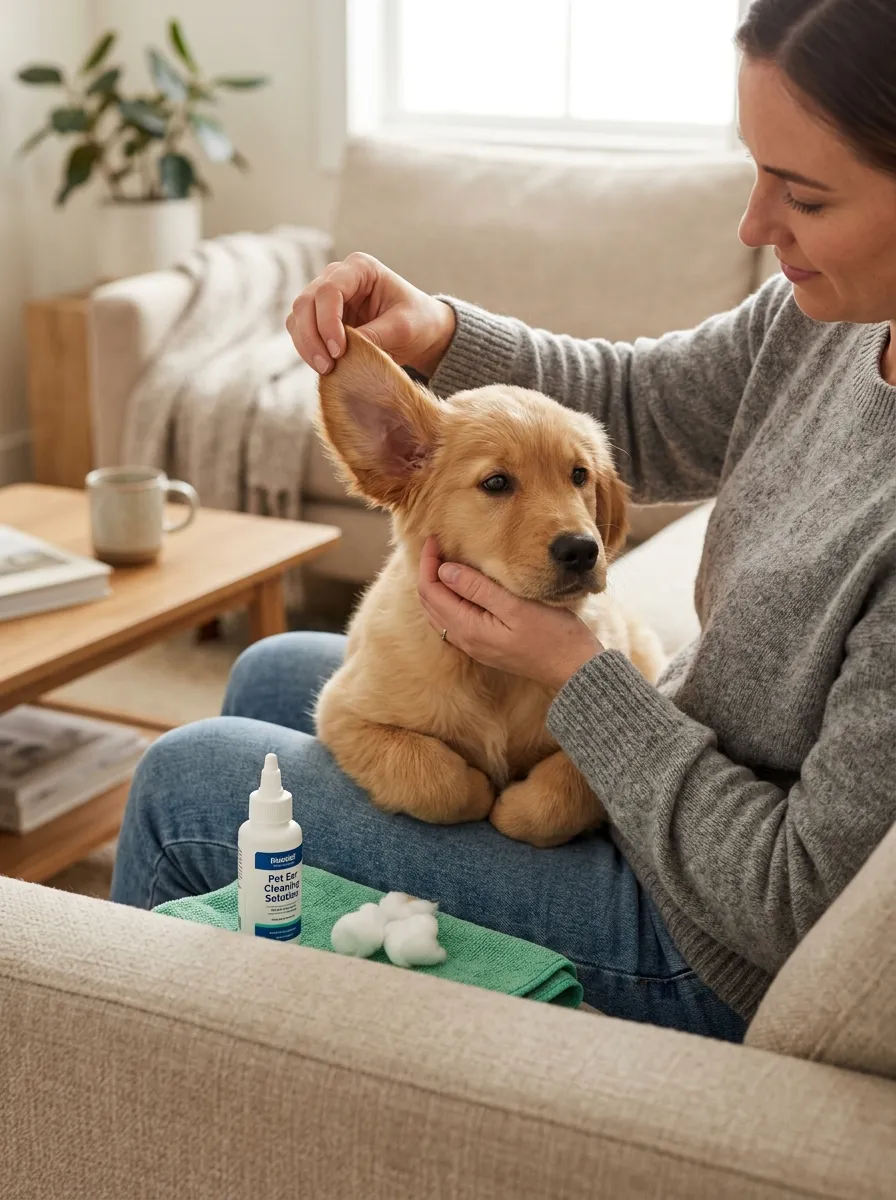
Tip: Practice simply touching and lifting the ear flap in short sessions beforehand if your puppy is new to handling.
Step 4: Apply the Cleaning Solution Properly
Following the right technique prevents injury and keeps the process gentle.
- Gently lift the ear flap
- Apply the vet-approved solution into the ear canal (following bottle instructions for amount)
- Massage the base of the ear gently for about 20–30 seconds
- You’ll likely hear a soft “squishing” sound – that’s normal and means it’s working
Avoid: Inserting anything deep into the ear canal – stick to the visible outer area only.
Step 5: Let Your Puppy Shake
This step feels messy, but it’s actually helpful.
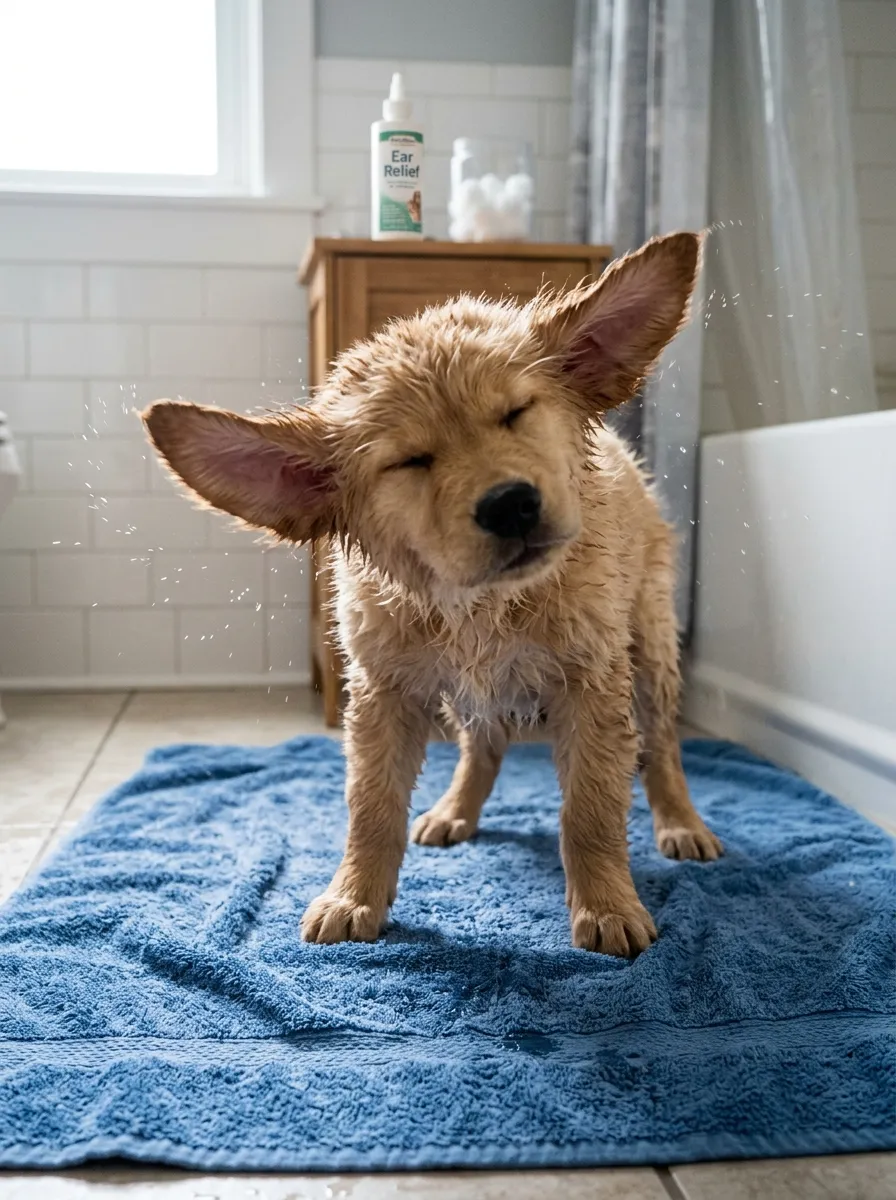
- Step back slightly and let your puppy shake their head
- This naturally helps loosen and bring debris upward
- Keep a towel handy to catch any solution flung around
Step 6: Wipe Away Debris Gently
Once your puppy has shaken it out, it’s time for a gentle cleanup.
- Use a cotton ball or gauze pad to wipe the visible outer ear
- Only clean what you can see – never probe deeper
- Repeat with a fresh cotton ball on the other ear
- Reward your puppy generously when you’re done
Avoid: Q-tips, sharp objects, or excessive scrubbing, which can cause irritation or injury.
How Often Should You Clean Your Puppy’s Ears?
Frequency depends on breed, ear shape, and lifestyle.
- Floppy-eared breeds: Weekly or bi-weekly
- Upright-eared breeds: Every 3–4 weeks, or as needed
- Active, water-loving puppies: More frequent checks after swimming or baths
Tip: Over-cleaning can actually irritate the ear canal, so stick to a reasonable schedule rather than cleaning daily “just in case.”
Common Mistakes to Avoid
- Using cotton swabs inside the ear canal
- Cleaning ears that already show signs of infection without a vet check
- Overdoing the frequency of cleanings
- Skipping the calm, positive association step
- Using human ear cleaning products not made for dogs
A Simple Ear Cleaning Checklist
| Task | Frequency |
|---|---|
| Visual ear check | Weekly |
| Full ear cleaning | Weekly to monthly (breed-dependent) |
| Vet check for irritation/odor | As needed |
Keep this simple rhythm in mind as part of your puppy’s regular grooming routine.
Final Thoughts
Cleaning your puppy’s ears doesn’t have to be stressful once you’ve got the right technique down. With gentle handling, the right supplies, and a calm approach, ear care becomes just another simple part of keeping your puppy healthy and comfortable.